
Purpose: link Git to RStudio for version control in R programming
Links to topics on this page
- Install Git and link to RStudio
- Enable Git version control with an existing RStudio project
- Related links and resources
Install Git and link to RStudio
- Download and install Git https://git-scm.com/downloads.
- Link Git to RStudio via Tools | Global options:
- Open RStudio
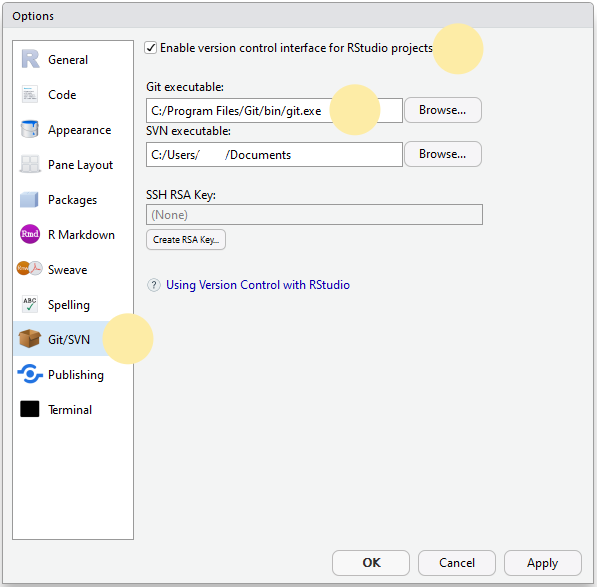
- From the top menu, select Tools | Global Options
- Select Git/SVN from the left hand pane
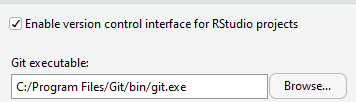
- Make sure that ‘Enable version control interface for RStudio projects‘ is checked.
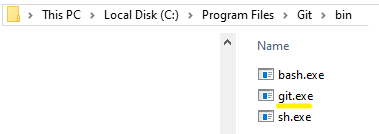
- In the ‘Git executable’ field browse to the git.exe file that you’ve installed; the likely filepath to find the git.exe file is: [local disk]
C:/Program Files/Git/bin/git.exe
Enable Git version control with an existing RStudio project
With Git installed and the git.exe file linked to RStudio (see above), you can now enable version control for individual RStudio projects.
- Open RStudio and open your existing project (e.g. from Recent projects)
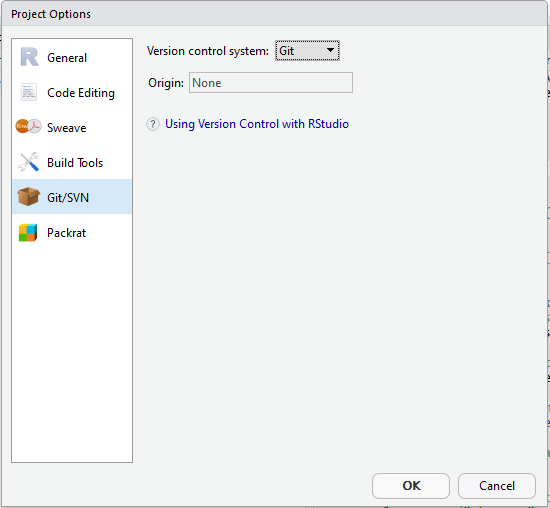
- Select Tools | Project Options
- Click on Git/SVN in the left hand pane, and select Git from the ‘Version control system‘ dropdown.
- A pop-up asks you to confirm if you want to initialize a new Git repository – click Yes.
- Then another pop-up asks you to confirm RStudio to be restarted to activate the new repository – click Yes.
- You’ll now see in your RStudio window, that a new Git tab has appeared (next to Environment, History, Connections), and in your project directory, a new .git folder has been added.