Purpose — to create a form for easy data entry in Excel
Links to topics on this page

Video — create a data entry form in Excel
Method (shown in video above) — how to create a data entry form in Excel
- This example starts with a data table with column headers and a few rows (records) already entered.
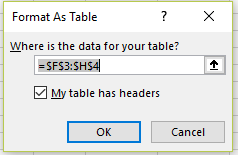
- First format the data as an Excel table: select the whole table (click and drag from one corner to the diagonally opposite corner), and from the ‘Home‘ tab, select ‘Format as Table‘.
- Select a style for your table, and in the ‘Format As Table‘ dialog box which then pops up, confirm the cell range for the data table, and that the table has a header row.
- Note: the ‘Form’ command in Excel isn’t on the ribbon by default, so you’ll need to add it — see our page on how to customize the ribbon in Excel.
- Select ‘Form‘ from the ribbon or Quick Access Toolbar.
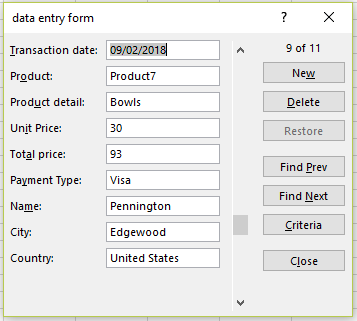
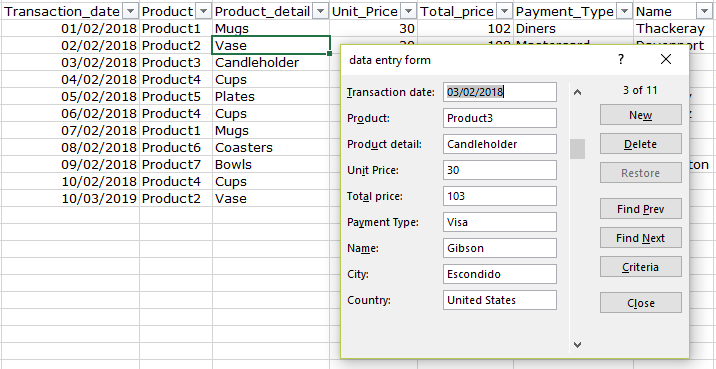
- A form window opens containing the fields and records (= rows) from your data table.
- With an Excel data form you can (see screenshot below):
- scroll through records one at a time by using the up and down arrows
- scroll through records 10 at a time by clicking in the scroll bar between the arrows
- move between fields in a record by using the TAB key to move forwards, and SHIFT-TAB to move backwards
- edit and add new records — change or add details and press ENTER to update the record
- delete records
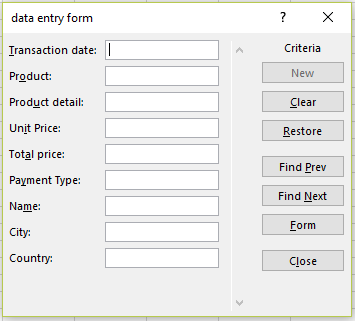
- find records by using search criteria — click on the ‘Criteria‘ button, and enter a search keyword into one of the fields. To return to the form view, click on the ‘Form’ button.
- To close the form view, click ‘Close‘.